Bullet journals are very popular these days. Most people do it in a little note book but what if you are not so creative? Or you don't have the time and place to do it all yourself?
Then maybe you can try to create the pages for your journal with some digital elements and then print them to fill in. And if you like to create your own paper planners or list but just want some help to start it, the black and white planners are great for you. You can just print them and then fill them in as you want.
Summer is almost over and there are many things to plan for September. With my latest collection Weekly Planner 3 you can make your planners or bucket lists for everything that you want to plan for your last days of this summer.
A new school year comes with new goals, and a list of things that you need to get or do.
Planners and a bucket list will help you organize it all and even to stay organized once you are back in school.
So here are some tips for you to make your planner or bucket list using your computer for it all or just to start and finish it on paper.
· Make your planner the right size, portrait or
landscape, depends on where you want to display it and how many items you want
to paste on the planner.
· You can make planners with each day of the
week, but also with lists, like goals, to do lists, shopping list, notes,
appointments etc.
· If you make a bucket list, don’t make it too
big, it will be easier to display it on a board, refrigerator etc. Using a
clothespin is a great way to hang them on your board by clipping them on a
little rope. You can also decorate your clothespin with the colors you used on
your the bucket list.
· Start your planner on your computer by making
the display in black and white, then print the planner so that you can fill it
in with colorful pens.
· If you want some more color, print your bucket
list or planner on colored paper.
· Don’t forget that you can also insert your own
photos in your planners.
Maybe you already downloaded my part from
the My memories blog train, if not you can get it on my blog here, it matches the collection and 2 freebies. One was in the MyMemories
newsletter last week, hope you picked it up, if not you can get it in my store here.
And in this article I give you this
little freebie so that you can give it a try and make your own planner, or bucket
list. You have all you need in these 2 add on’s.
To make your own Back to School Planner,
or bucket list you can just print these freebies. And fill them in manually, or
fill them in on your computer and embellish them with the elements from the
Collection.


Then choose the size of your layout, you can choose any size you would like and then open the planner or bucket list on that page.
After pasting your list or planner on the background you can fill it in with text, choosing the font you like in the color you want. And then you can embellish the list/planner.
Of course you can create this yourself but you can also use the items from my kit or other scrapbook kits.
You can also add some photos you found from items on the internet and the names of the stores where you can get them, so that you can keep track of all the items you want to have for your next school year.
And if you save your project you can use it again next year or for another occasion.
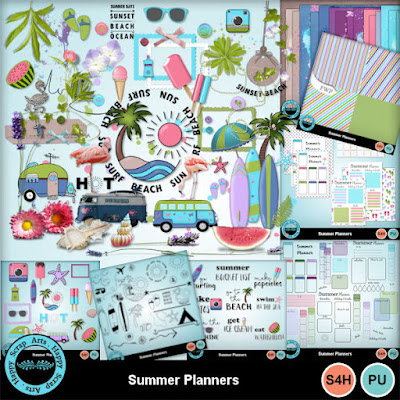
You might also have some summer events to scrap. You can use my collection Summer Planners to scrap all you summer events to come or already past.


My store is 35% off from August 29th till 31th with this promo code:
EDHSBlogSeries30
Take
a look, I'm sure you will find something you will love.
A new mask for free each month.
Follow me on social media:
Happy Scrap Arts Fan page (lots of
freebies)


1 comment:
This was some great information. I learned a lot. Thank you for this article!
Post a Comment