
Hey folks!
Are you a fan of changing your desktop background? Did you know you can make your own personal background using the My Memories Suite software? Today we will have some fun and make our own backgrounds!
This tutorial is written using the My Memories Suite software and my new collection "Country Valentine". You can get the My Memories Suite Software here. Be sure to use my code STMMMS64124 when ordering and save $10. Country Valentine is available at: https://www.mymemories.com/store/designers/QueenBrat_Designs.
So, let's get started.
1. Right click on your desk top.
2. Click Display Settings.
3. You should see your "Display Resolution". Write it down. This is the size of your background that you want to make.
4. Open your My Memories Software.
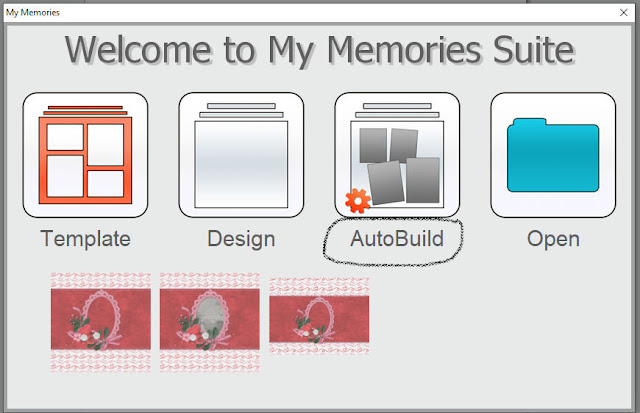
5. On your welcome box click on Auto Build.
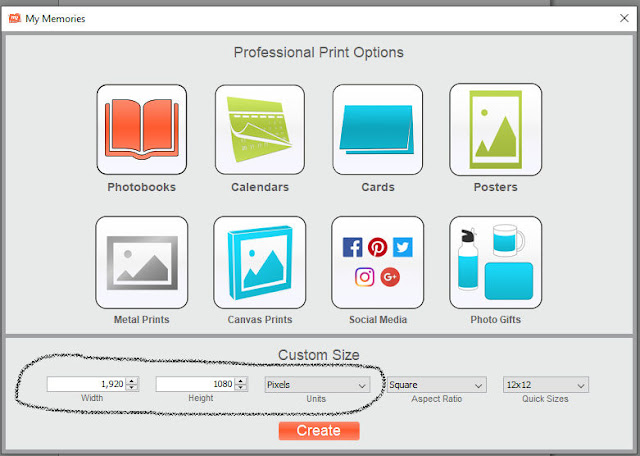
6. When the Professional Print Options box pops up go to the bottom of the box. Under Custom Size change your units to pixels and put in the correct width and height for your screen resolution.
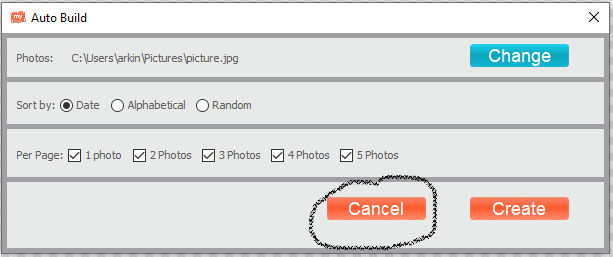
8. Select a background of your choice. I selected one of the print papers because we will be leaving it showing around the edges. (The gray area.)
9. Select a second background as an element (on the left) and add it to your graphic. I used a solid for this. Size it to fit inside the gray area.
10. Proceed to decorate with photos and embellishments just like you do a layout.
11. When finished go to "share > export > save as .jpg or .png".
12 Locate where you saved your desktop background. Right click and set as your background.
Here is my final project with my favorite Valentine's, Riley and Remington.
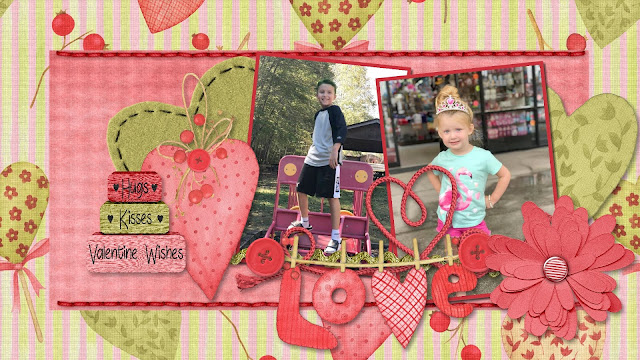
With this style of background I place my Icons on the printed border and have the center open so that I can see my grandbabies.
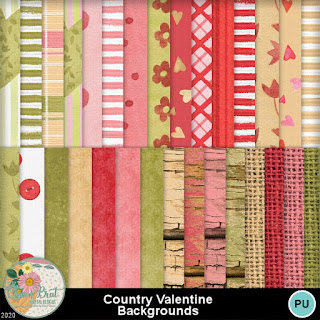
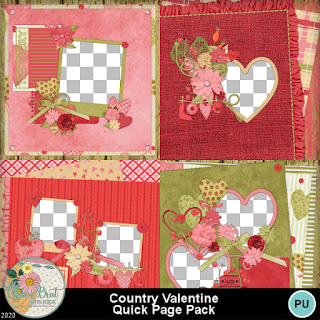
This is the 'Country Valentine' collection that I used in this designer tip:

I have lots of kits in my store that would be suitable to make desktop backgrounds. Please check them out! https://www.mymemories.com/store/designers/QueenBrat_Designs.
Until next time!


No comments:
Post a Comment